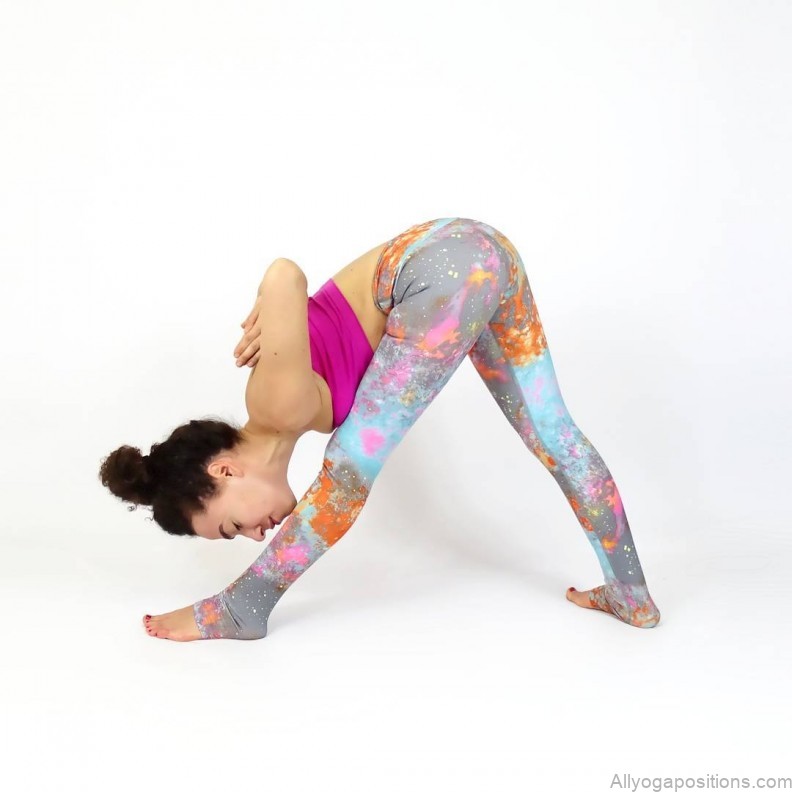
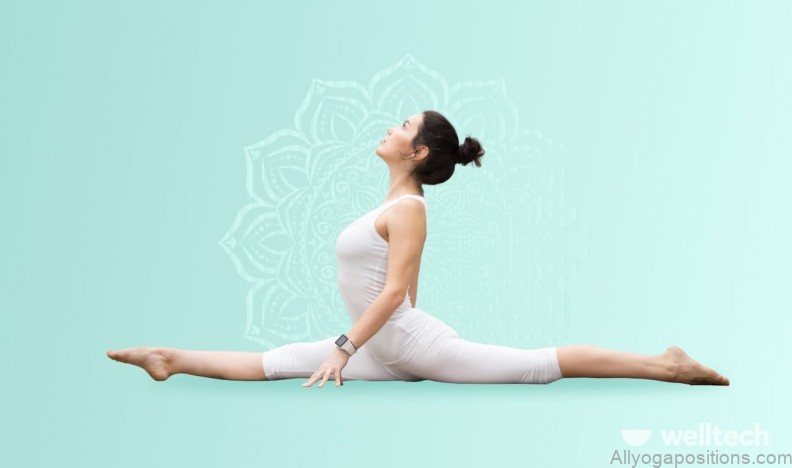
Yoga is a practice that brings together the mind, body, and spirit, helping practitioners find balance, strength, and flexibility in their lives. Among the vast array of yoga poses, the Extended Side Angle Pose stands out for its myriad of benefits and its ability to be adapted to suit practitioners of all levels.
Introduction
When one thinks of yoga, images of peaceful settings, serene faces, and graceful postures often come to mind. Amidst these postures, the Extended Side Angle Yoga Pose is a beautiful blend of strength, balance, and stretch. Whether you are a beginner or an advanced yogi, there’s much to uncover about this pose.
Embracing the Extended Side Angle Yoga Pose: More Than Just a Stretch Photo Gallery
Understanding the Extended Side Angle Pose
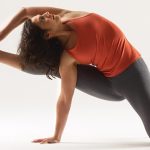
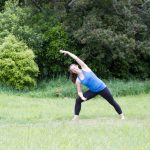
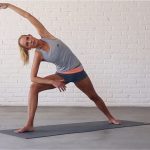
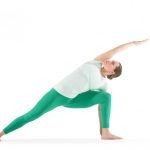
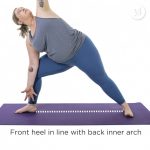
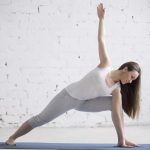
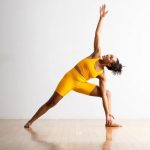
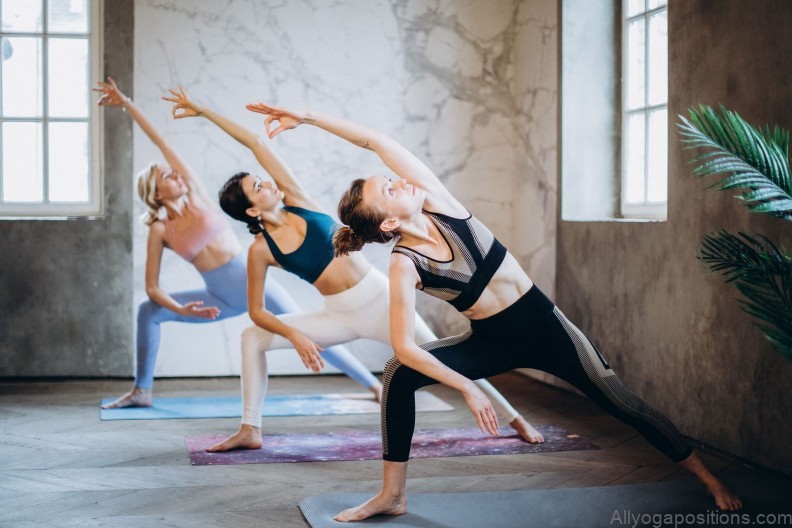
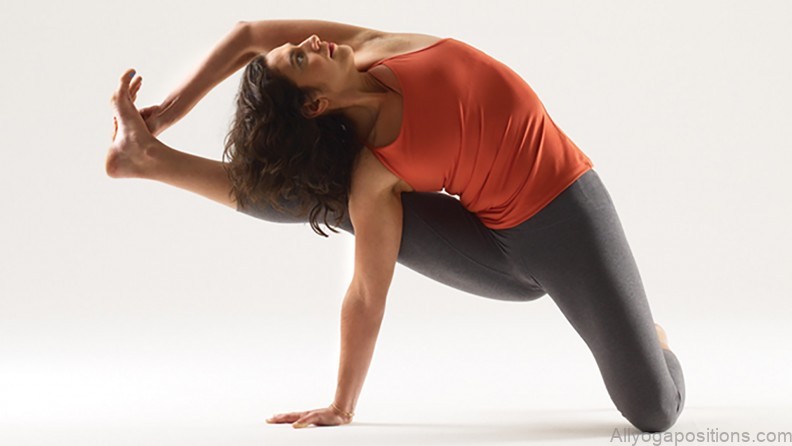
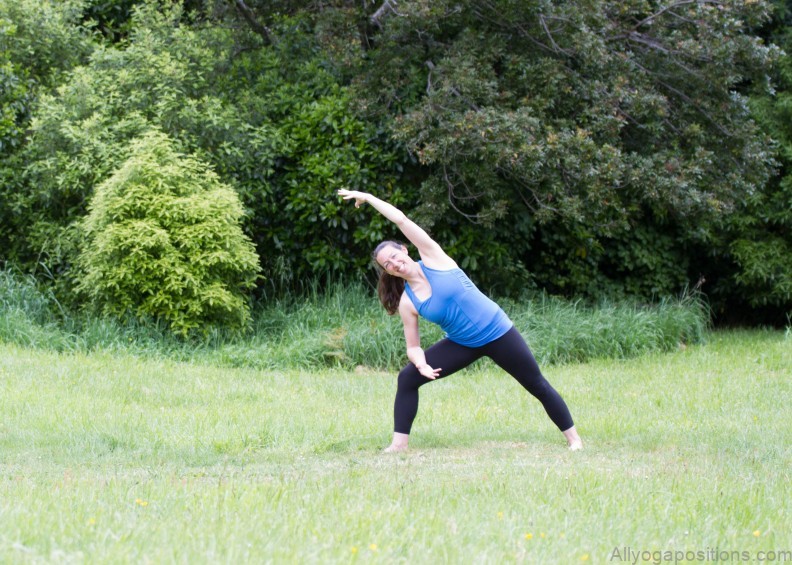
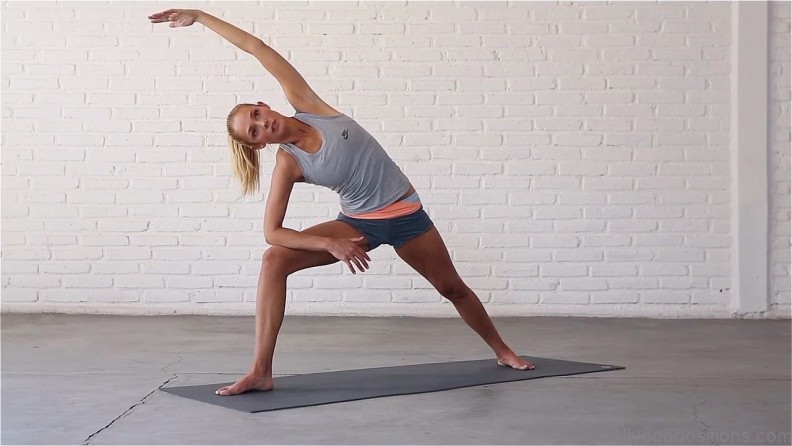
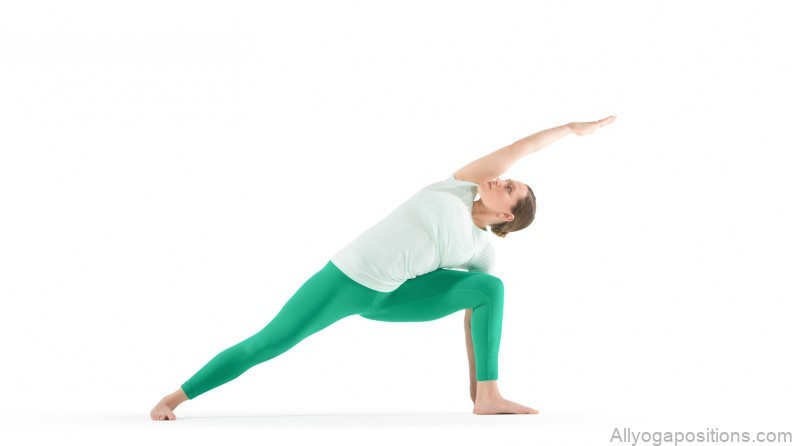
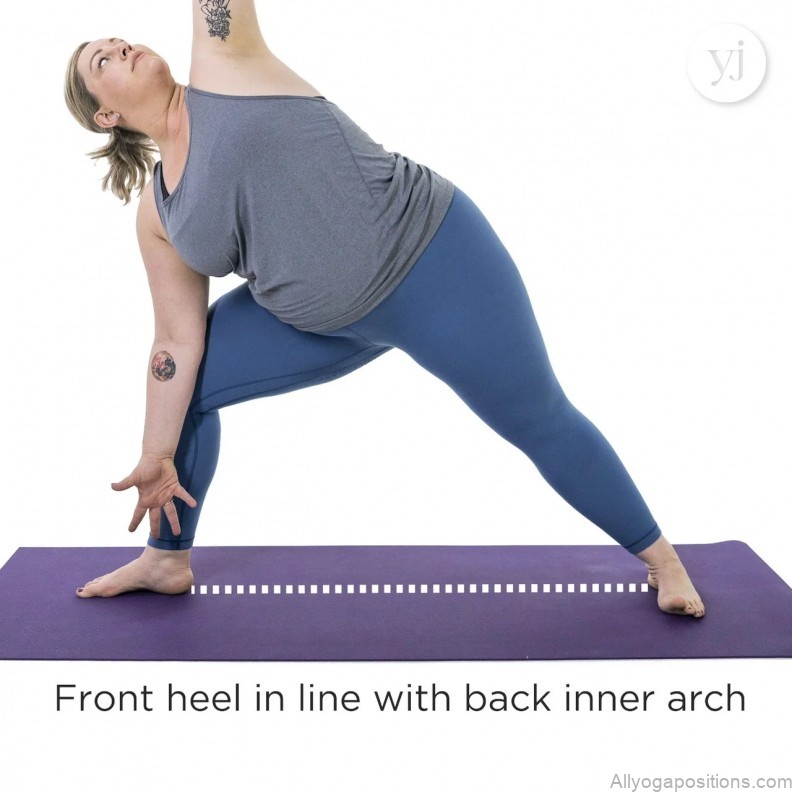
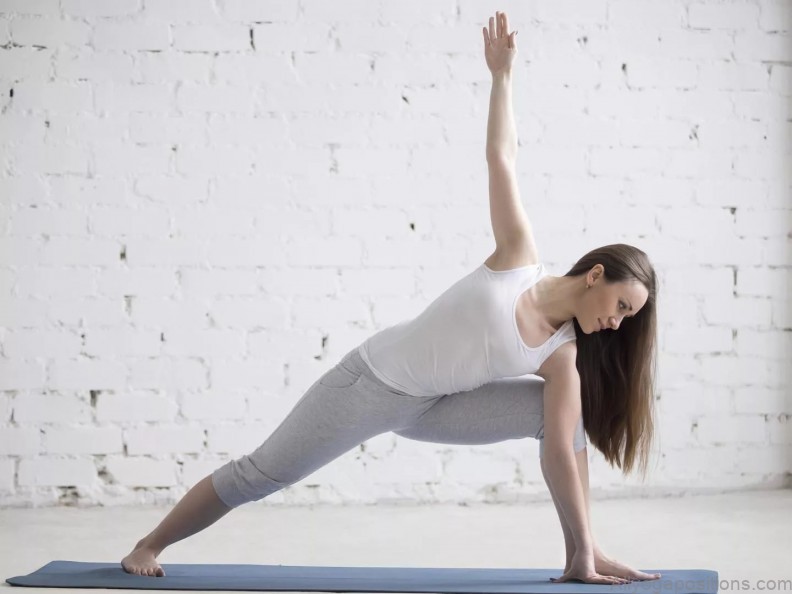
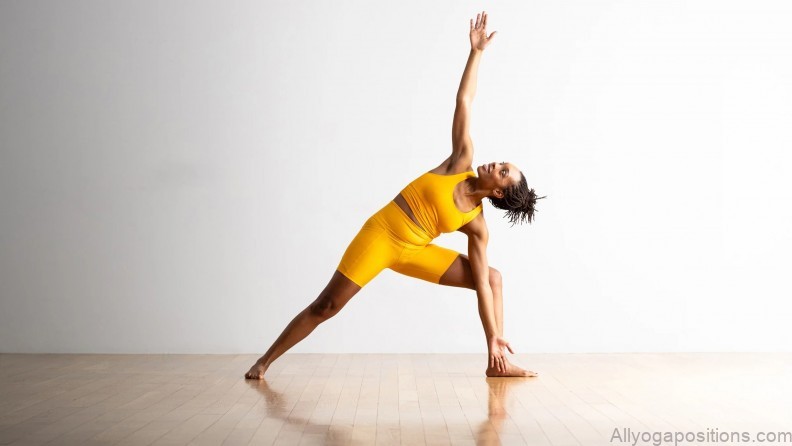
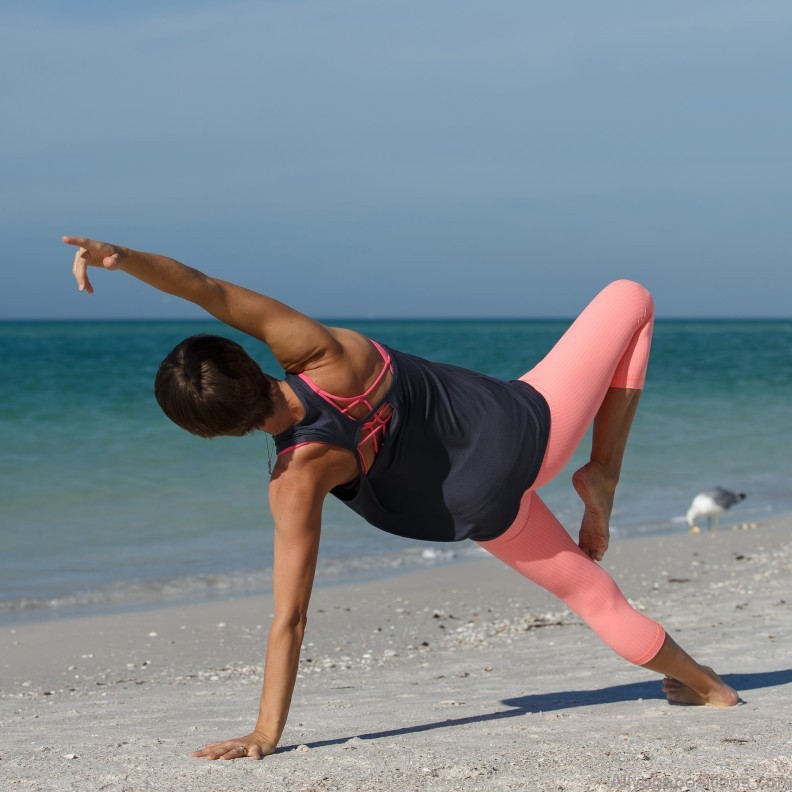
Anatomy of the Pose: The Extended Side Angle Pose, known in Sanskrit as “Utthita Parsvakonasana” (Utthita means extended, Parsva means side, and Kona means angle), involves a deep lunge with one leg stretched back and the other bent at a 90-degree angle. The torso bends toward the bent leg, with one arm extended overhead and the other resting either on the ground or on the bent knee.
Benefits: This pose stretches the waist, opens the shoulders and chest, strengthens the legs, and invigorates the body. It’s a powerful pose that combines the benefits of a stretch with strength-building.
How to Perform the Extended Side Angle Yoga Pose
Step by Step Guide:
- Begin in a standing position with your feet about leg-length apart.
- Turn your right foot out to a 90-degree angle and your left foot slightly inwards.
- Bend your right knee until it is directly above your ankle.
- Reach your right hand down to either rest on your right shin or, if comfortable, the floor outside of your right foot.
- Extend your left arm overhead, with your palm facing down, creating a line from your left foot to your left hand.
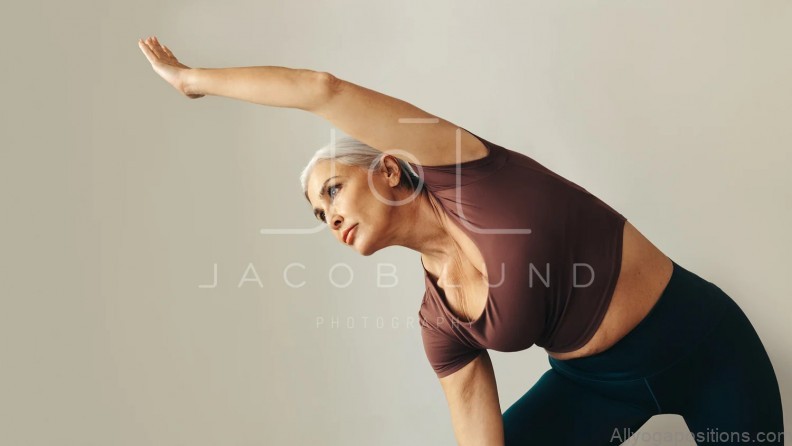
- Turn your gaze towards your left hand, feeling a deep stretch along the left side of your torso.
- Hold the pose for several breaths, then switch sides.
Modifications: For beginners, you can use a yoga block under the lower hand for support. Advanced practitioners can deepen the stretch by placing the lower hand on the inside of the foot.
Mistakes to Avoid
As with any yoga pose, alignment is crucial in the Extended Side Angle Pose.
Overextending: Be careful not to overextend your bent knee past your ankle. This can strain the knee joint.
Dropping the Chest: Ensure that your chest remains open and facing the side, rather than dropping downwards. This helps in maintaining the integrity of the stretch.
Neglecting the Back Leg: The strength of the pose comes from both legs. Ensure the back leg remains active and engaged, with the foot firmly grounded.
Integrating the Extended Side Angle Pose into Your Routine
This pose is versatile and can be incorporated into various yoga sequences.
Warm-up: Before attempting this pose, ensure that you are adequately warmed up, especially the hips, shoulders, and legs.
Combining with Other Poses: The Extended Side Angle Yoga Pose transitions well from the Warrior II pose. It can also be followed by the Reverse Warrior Pose, providing a complementary stretch.
Conclusion
The Extended Side Angle Yoga Pose is more than just a side stretch. It’s an exploration of balance, strength, and flexibility, embodying the holistic essence of yoga. As you practice this pose, embrace each breath and each moment, feeling the connection between your mind, body, and spirit.
We’d love to hear about your experience with the Extended Side Angle Yoga Pose. Share your thoughts, tips, and stories in the comments below!
FAQs (Frequently Asked Questions)
1. Can beginners attempt the Extended Side Angle Pose?
Yes, with proper guidance and modifications, beginners can safely practice this pose.
2. I feel a strain in my neck when looking up. What can I do?
If looking up strains your neck, you can modify by keeping your gaze forward or looking down, ensuring your neck remains comfortable.
3. How long should I hold the Extended Side Angle Pose?
For beginners, holding for a few breaths (around 30 seconds) is recommended. As you become more comfortable, you can hold the pose for longer durations.
4. Can I practice this pose during pregnancy?
Always consult with your doctor or a prenatal yoga instructor before attempting any poses during pregnancy. With modifications and props, many pregnant women find this pose beneficial.
5. Is there a restorative version of this pose?
Yes, you can practice a more restful version using props like bolsters and blankets to support your body and reduce strain.
Table of Contents
Maybe You Like Them Too
- Mastering Virabhadrasana A: The Warrior Pose of Empowerment
- Embracing the Essence of Wide Legged Forward Bend: A Deep Dive
- Unlocking the Power of Prasarita Padottanasana: The Wide-Legged Forward Bend
- The Power and Elegance of the Wide Legged Forward Bend II Yoga Pose
- Mastering the Warrior II Pose: A Deep Dive into Its Benefits and Techniques


